
SCORE CARD & COURSE MAP
CHAMPIONSHIP COURSE
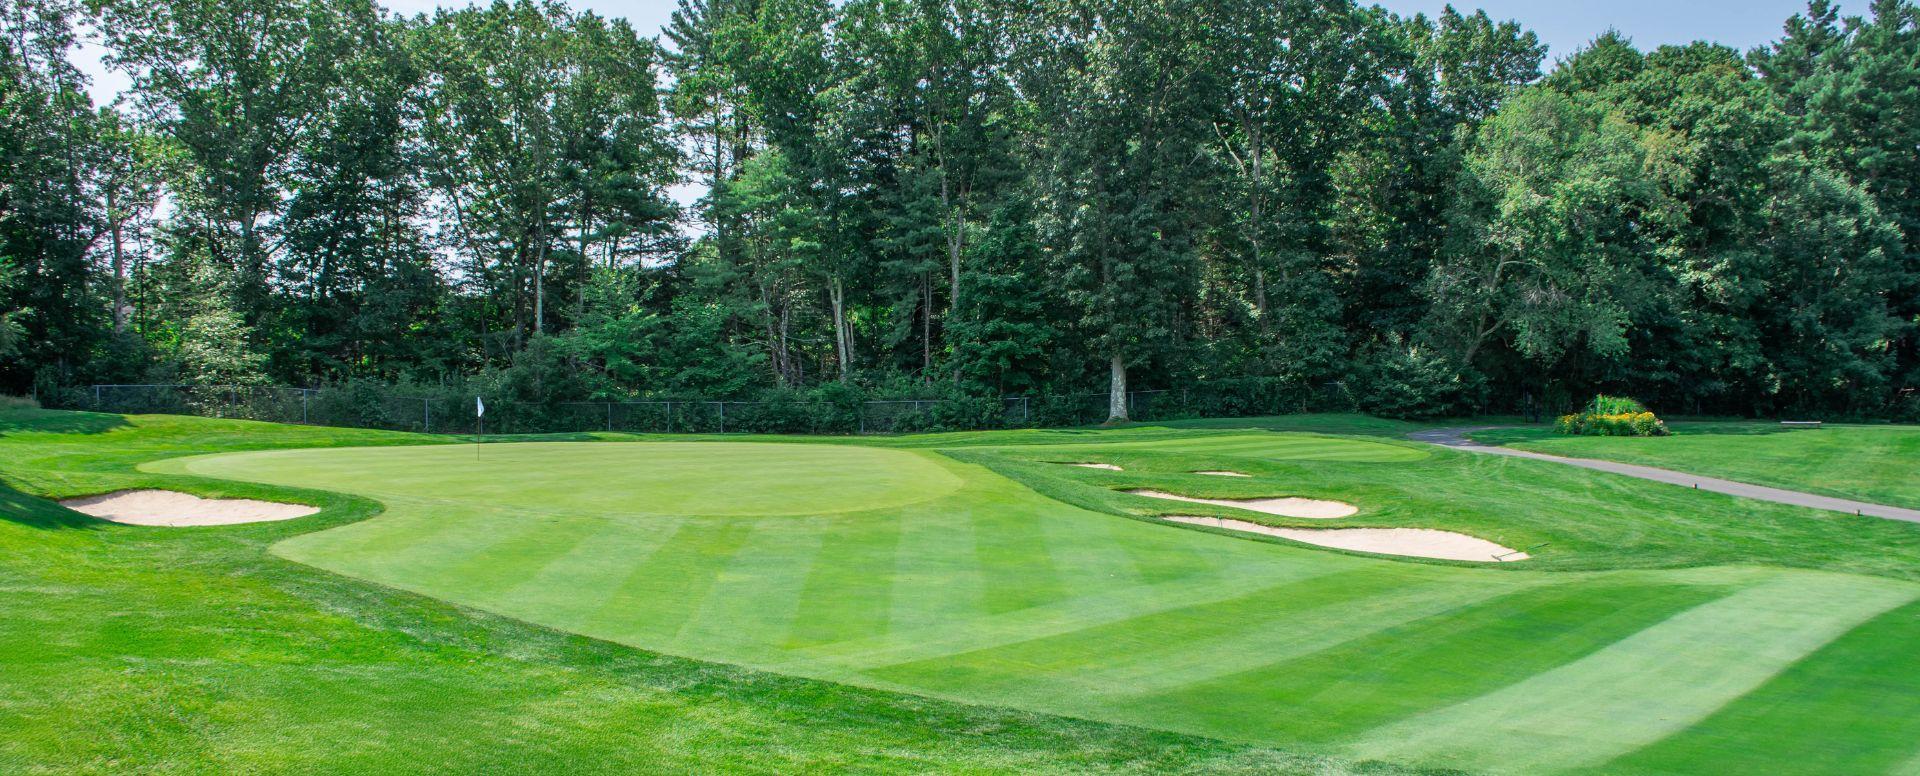
Hole # 1
The first hole is a 434-yard par 4. The fairway is wide and slopes left to right. Both side of the fairway are protected by fairway bunkers. Your approach shot is to a small green well-guarded by two bunkers. A very deceivingly easy hole can easily result in a bogey.|
Black 434 |
Gold 430 |
White 417 |
Blue 417 |
Red 414 |
|
Handicap (M/L) 5/9 Par (M/L) 4/5 |
||||
Hole # 2
The second hole is 431 yards with a large elevated green that slopes off on all sides. A short approach shot here will result in the ball rolling back down the slope 20 to 30 yards.|
Black 431 |
Gold 405 |
White 364 |
Blue 364 |
Red 323 |
|
Handicap (M/L) 1/5 Par (M/L) 4/4 |
||||
Hole # 3
The third hole is a slight dogleg left playing to another 400 plus yards. There is a pond located off into the distance that can be reached by the long hitters. The second shot requires a long iron or hybrid to a large green.|
Black 432 |
Gold 411 |
White 398 |
Blue 398 |
Red 386 |
|
Handicap (M/L) 7/1 Par (M/L) 4/4 |
||||
Hole # 4
The 4th hole is a great par 3 playing to 198 yards from the back tees. The large green slopes off in the front as well as the back right corner creating some great pin placements on this long hole.|
Black 198 |
Gold 181 |
White 171 |
Blue 171 |
Red 149 |
|
Handicap (M/L) 15/15 Par (M/L) 3/3 |
||||
Hole # 5
The 5th hole is a straight away par 4 to an elevated green. Stray shots to the right may find themselves in the only water on the course.|
Black 389 |
Gold 383 |
White 383 |
Blue 307 |
Red 297 |
|
Handicap (M/L) 9/11 Par (M/L) 4/4 |
||||
Hole # 6
The 6th hole is a great short par 4. The hole is well protected by three bunkers. Long hitters may choose to take a chance and drive the green but the safe play is to stay short of the approach bunker. The turtleback green keeps the putter honest!|
Black 299 |
Gold 278 |
White 278 |
Blue 258 |
Red 249 |
|
Handicap (M/L) 13/13 Par (M/L) 4/4 |
||||
Hole # 7
The 7th hole is 132-yard par 3 requiring an accurate short iron to a shallow green. The green is well protected in the front by three pot bunkers.|
Black 132 |
Gold 127 |
White 127 |
Blue 122 |
Red 94 |
|
Handicap (M/L) 17/17 Par (M/L) 3/3 |
||||
Hole # 8
The 8th hole is the first par 5 on the front nine. The tee shot requires accuracy with out of bounds left and trouble right. The 2nd shot needs to stay short of a cross bunker or the big hitters can try and reach the uphill approach. The green is very small and slopes sharply back to front.|
Black 517 |
Gold 505 |
White 495 |
Blue 392 |
Red 320 |
|
Handicap (M/L) 3/3 Par (M/L) 5/4 |
||||
Hole # 9
The 9th hole is a short par 5 at 458 yards. The fairway is well bunkered for the tee shot and second shots. The is a great opportunity to finish with birdie or eagle on the front 9.|
Black 458 |
Gold 444 |
White 444 |
Blue 325 |
Red 420 |
|
Handicap (M/L) 11/7 Par (M/L) 5/5 |
||||
Hole # 10
The 10th hole is one of the toughest holes on the course. The tee shot demands length and accuracy with out of bounds on the left side of the hole. The green is amazing with sharp slopes all around. Par here is an accomplishment!|
Black 410 |
Gold 389 |
White 351 |
Blue 351 |
Red 323 |
|
Handicap (M/L) 4/14 Par (M/L) 4/4 |
||||
Hole # 11
The 11th hole is a picturesque hole with an elevated tee. It is a really good hole at 418 yards!|
Black 418 |
Gold 402 |
White 387 |
Blue 327 |
Red 322 |
|
Handicap (M/L) 8/12 Par (M/L) 4/4 |
||||
Hole # 12
The 12th hole is a three-shot par 5! The hole tips out at 533 yards and plays uphill all the way adding length. The green complex is small that has a green that slopes slightly from back to front. Par is a good score on this hole!|
Black 533 |
Gold 517 |
White 487 |
Blue 427 |
Red 429 |
|
Handicap (M/L) 2/2 Par (M/L) 5/5 |
||||
Hole # 13
The 13th hole is a monster of a par 3. 220 yards from the tips traditionally plays directly into the wind. The green has a spine running across the green horizontally challenging the putter. A great hole!|
Black 229 |
Gold 216 |
White 182 |
Blue 182 |
Red 171 |
|
Handicap (M/L) 14/16 Par (M/L) 3/3 |
||||
Hole # 14
The 14th hole is a beautiful par 4 at 407 yards. The elevate tee give you views of Blue Hill in the distance with great fairway bunker visuals. A small green protected by 3 smaller bunkers add to the challenge. The opportunity for birdie is good here!|
Black 407 |
Gold 394 |
White 377 |
Blue 336 |
Red 330 |
|
Handicap (M/L) 6/10 Par (M/L) 4/4 |
||||
Hole # 15
The 15th hole is a great short par 4 just like #6 on the front. From the back it plays to 357 yards with a small green protect on all sides by bunkers. Birdie is not easy feat of skill on the short hole. Front pin locations can result in balls rolling off the front of the green and down the approach.|
Black 357 |
Gold 325 |
White 325 |
Blue 317 |
Red 308 |
|
Handicap (M/L) 12/4 Par (M/L) 4/4 |
||||
Hole # 16
The par 3, 16th is a downhill tee shot to a very small green. The green is sloped back to front and front pin location is extremely difficult. Three bunkers protect both side of the green.|
Black 182 |
Gold 164 |
White 149 |
Blue 149 |
Red 132 |
|
Handicap (M/L) 18/18 Par (M/L) 3/3 |
||||
Hole # 17
The 17th hole is a real possibility for birdie. A perfectly placed tee shot should leave the player 120 to 150 yards into a large green. The putting surface is relatively flat allowing the player the opportunity to put a good stoke on the birdie putt.|
Black 338 |
Gold 338 |
White 338 |
Blue 332 |
Red 320 |
|
Handicap (M/L) 16/6 Par (M/L) 4/4 |
||||
Hole # 18
The 18th hole is another opportunity to finish strong with a birdie. The fairway bunkers both left and right protect the tee shot. The low handicap player can go for this green in two. A deep bunker on the front right guards this small green and a severely sloped collection area on the left can force errant shots into the rough.|
Black 482 |
Gold 467 |
White 465 |
Blue 446 |
Red 401 |
|
Handicap (M/L) 10/8 Par (M/L) 5/5 |
||||
